Task 0 - Instructions (Ubuntu)
This document contains instructions to install following software/libraries on Ubuntu 22.04 and 24.04 OS:
- Miniconda for Python 3.10
- CoppeliaSim 4.10
1. Miniconda for Python 3.10
Section titled “1. Miniconda for Python 3.10”-
In this section, we will be installing Miniconda and use it to create a Python 3.10 virtual environment in next section.
-
We will be using Python 3.10 in this theme. You don’t have to install Python separately. It comes by default with Miniconda installation.
-
Conda is a package management system, created specifically to assist working with Python packages in a cross-platform fashion. Conda also has the concept of a virtual environment, which is an independent, self-contained install of Python and packages.
-
There are two options for getting Conda: Anaconda and Miniconda. You can read in detail about these and which one to prefer, over here: reference1 and reference2.
Note: If you already have Anaconda or Miniconda pre-installed in your system, kindly skip this section and proceed to section B. Verification Steps Miniconda
A. Installation Steps Miniconda
Section titled “A. Installation Steps Miniconda”-
Download Miniconda for Python 3.10 from here (file size - 174.5MB).
-
We need to make this downloaded shell (.sh) file executable. Right-click on the folder where this file is present (for instance, Downloads folder) and select Open in Terminal option.
-
Run the following commands to start the installation.
Terminal window sudo chmod u+x Miniconda3-py310_26.5.3-2-Linux-x86_64.sh./Miniconda3-py310_26.5.3-2-Linux-x86_64.sh -
To continue the installation process, hit Enter and continue pressing the Enter until you get the message “Type yes or no” type of question in the terminal. Accept the license terms by typing yes. Confirm the default location of installation by pressing Enter. It will install the basic necessary libraries and tools.
-
Type in yes when asked by installer to initialize Miniconda3.
-
Once the installation completes, you will be greeted with message: Thank you for installing Miniconda3!.
-
Now, run the following commands to complete some post-installation steps:
Terminal window source ~/.bashrcconda config --set auto_activate_base falsesource ~/.bashrc
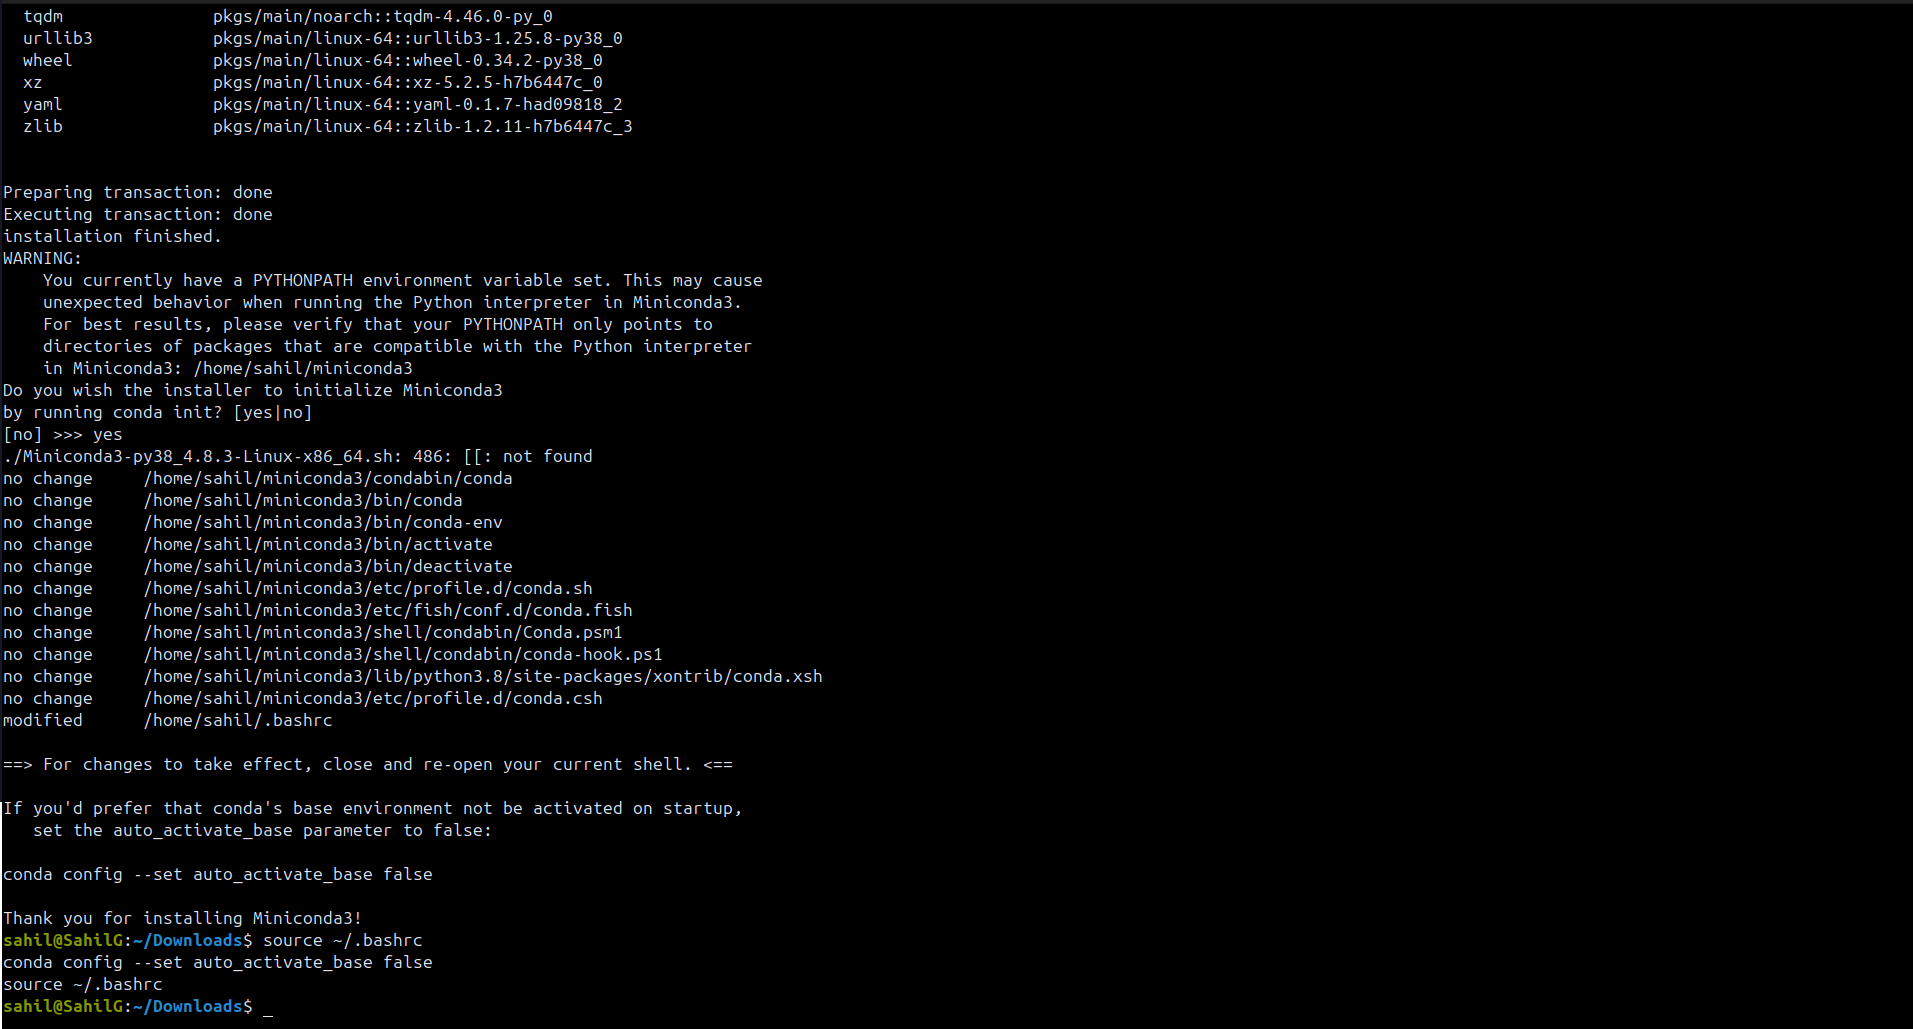
- You will see output similar to Figure 1. Once the installation completes, it registers conda as new command to the default bash script (
bashrcfile). - So, what we did in post-installation steps is:
- First command invoked this default bash script so that we can use conda command further or in other words, this command makes the changes in
bashrcto take effect. - Miniconda creates a default Python environment named base and the previous step activates this environment by default. So with second command, we set the flag for automatic activation of base environment to false; else for each new Terminal you open, the base environment would be activated.
- Third command, again invokes the default bash script for changes in it to take effect. And now you can see just after this command, the
(base)has dissappeared.
- First command invoked this default bash script so that we can use conda command further or in other words, this command makes the changes in
- Cheers, Miniconda for Python 3.10 is successfully installed. Let’s verify now.
B. Verification Steps Miniconda
Section titled “B. Verification Steps Miniconda”-
Open a new Terminal or continue in the previous one.
-
Run the below command:
Terminal window conda infoYou will get the information on Miniconda as in Figure 2.
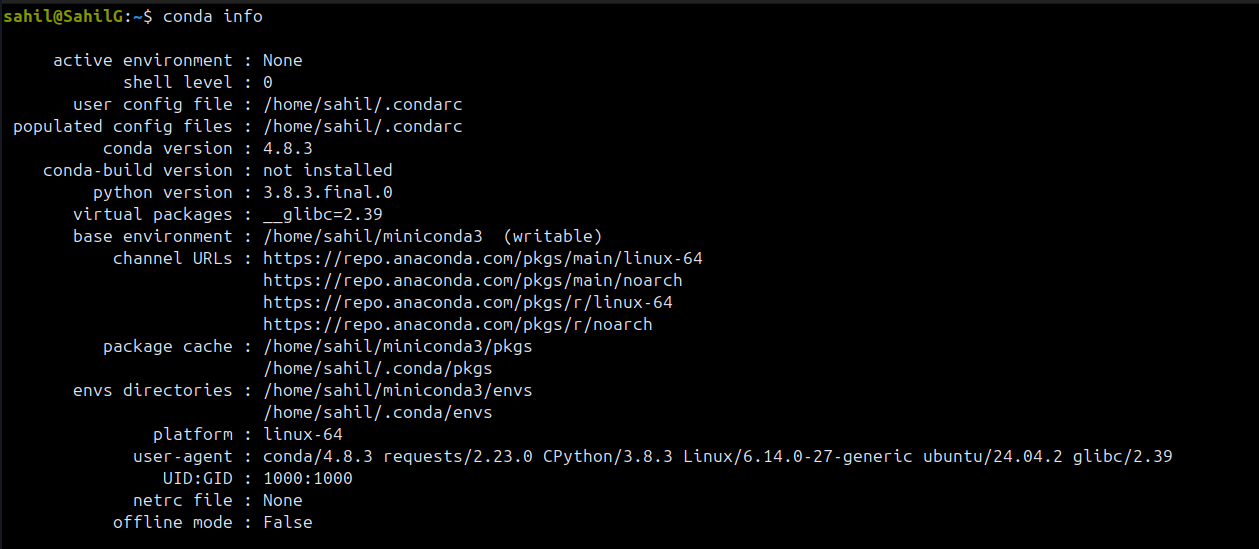 Figure 2: Output of conda info command
 -
As mentioned earlier, Miniconda creates a default Python environment named base at the installation directory, let’s check this out. Type one of the following three commands to find all the existing virtual environments on your system with their path location:
Terminal window conda env listOR
Terminal window conda info --envsOR
Terminal window conda info -eSince for now we just have one default environment base existing, there is one entry in Figure 3. The asterisk sign ” * ”, against the name indicates the current active environment, so it is base in this case.
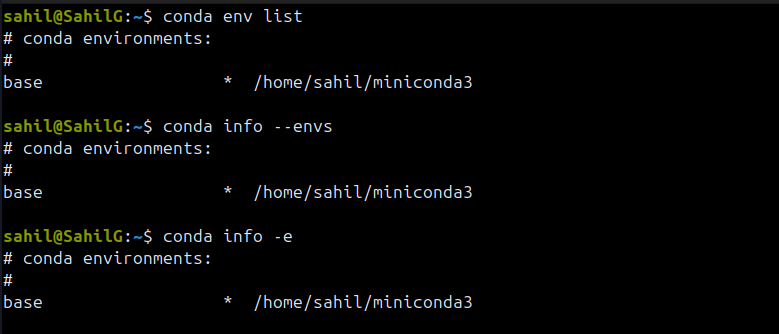 Figure 3: Output of conda env list command
 -
When any environment is activated, its name appears in round braces (env_name) at the start of line. To activate the default Python environment that comes with Miniconda installation, type in following in sequence:
Terminal window conda activate basewhich pythonpythonYou will see output similar to Figure 4. Here, first we invoked the default environment, then checked whether the prompt is able to detect the path of Python that came installed with Miniconda and at last we called the Python interpreter or console. You can see the very first message has Anaconda word which justifies it.
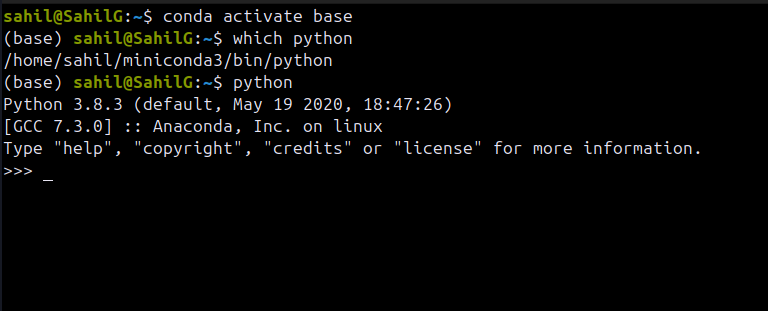
-
The Python version should read 3.10.x — the exact patch version might differ from what’s shown in the screenshot above (captured on an older 3.8 build), and that’s okay. Type
exit()to come out of Python console. -
Just as we use the command:
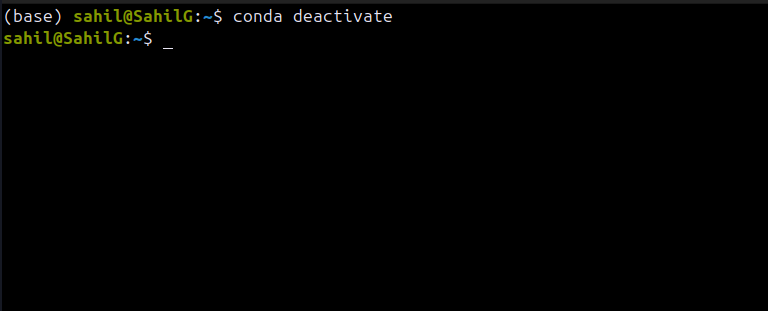
conda activate env_nameto activate the Python environment named env_name; to deactivate any active environment, type:conda deactivate. The (env_name) will now disappear from the start of line. You will see output similar to Figure 5.Terminal window conda deactivate
C. Setting up a Virtual Environment using Miniconda
Section titled “C. Setting up a Virtual Environment using Miniconda”-
Download environment.yml file
-
Open terminal and navigate to directory of environment.yml
-
Run command
Terminal window conda env create --name NV_<Team-ID> -f environment.ymlExample:
Terminal window conda env create --name NV_9999 -f environment.ymlNote: This process may take some time, please be patient!
-
Run following command to verify new environment setup:
Terminal window conda activate NV_9999Terminal window which pythonTerminal window python
2. Installation of CoppeliaSim
Section titled “2. Installation of CoppeliaSim”A. Installation Steps CoppeliaSim for Ubuntu 22.04
Section titled “A. Installation Steps CoppeliaSim for Ubuntu 22.04”-
Download CoppeliaSim_Edu_V4_10_0_rev0 for Ubuntu 22.04 64-bit OS from here (file size - 219.10MB). It will download as .tar.xz (compressed zip) file.
-
Open Terminal and navigate to the directory where this file was downloaded. Run the following command:
Terminal window tar -xf CoppeliaSim_Edu_V4_10_0_rev0_Ubuntu22_04.tar.xzThis command will decompress and extract the CoppeliaSim software to the folder named CoppeliaSim_Edu_V4_10_0_rev0_Ubuntu22_04 in the same directory.
-
Now type the below commands in sequence to launch CoppeliaSim.
cd CoppeliaSim_Edu_V4_10_0_rev0_Ubuntu22_04./coppeliaSim.sh -
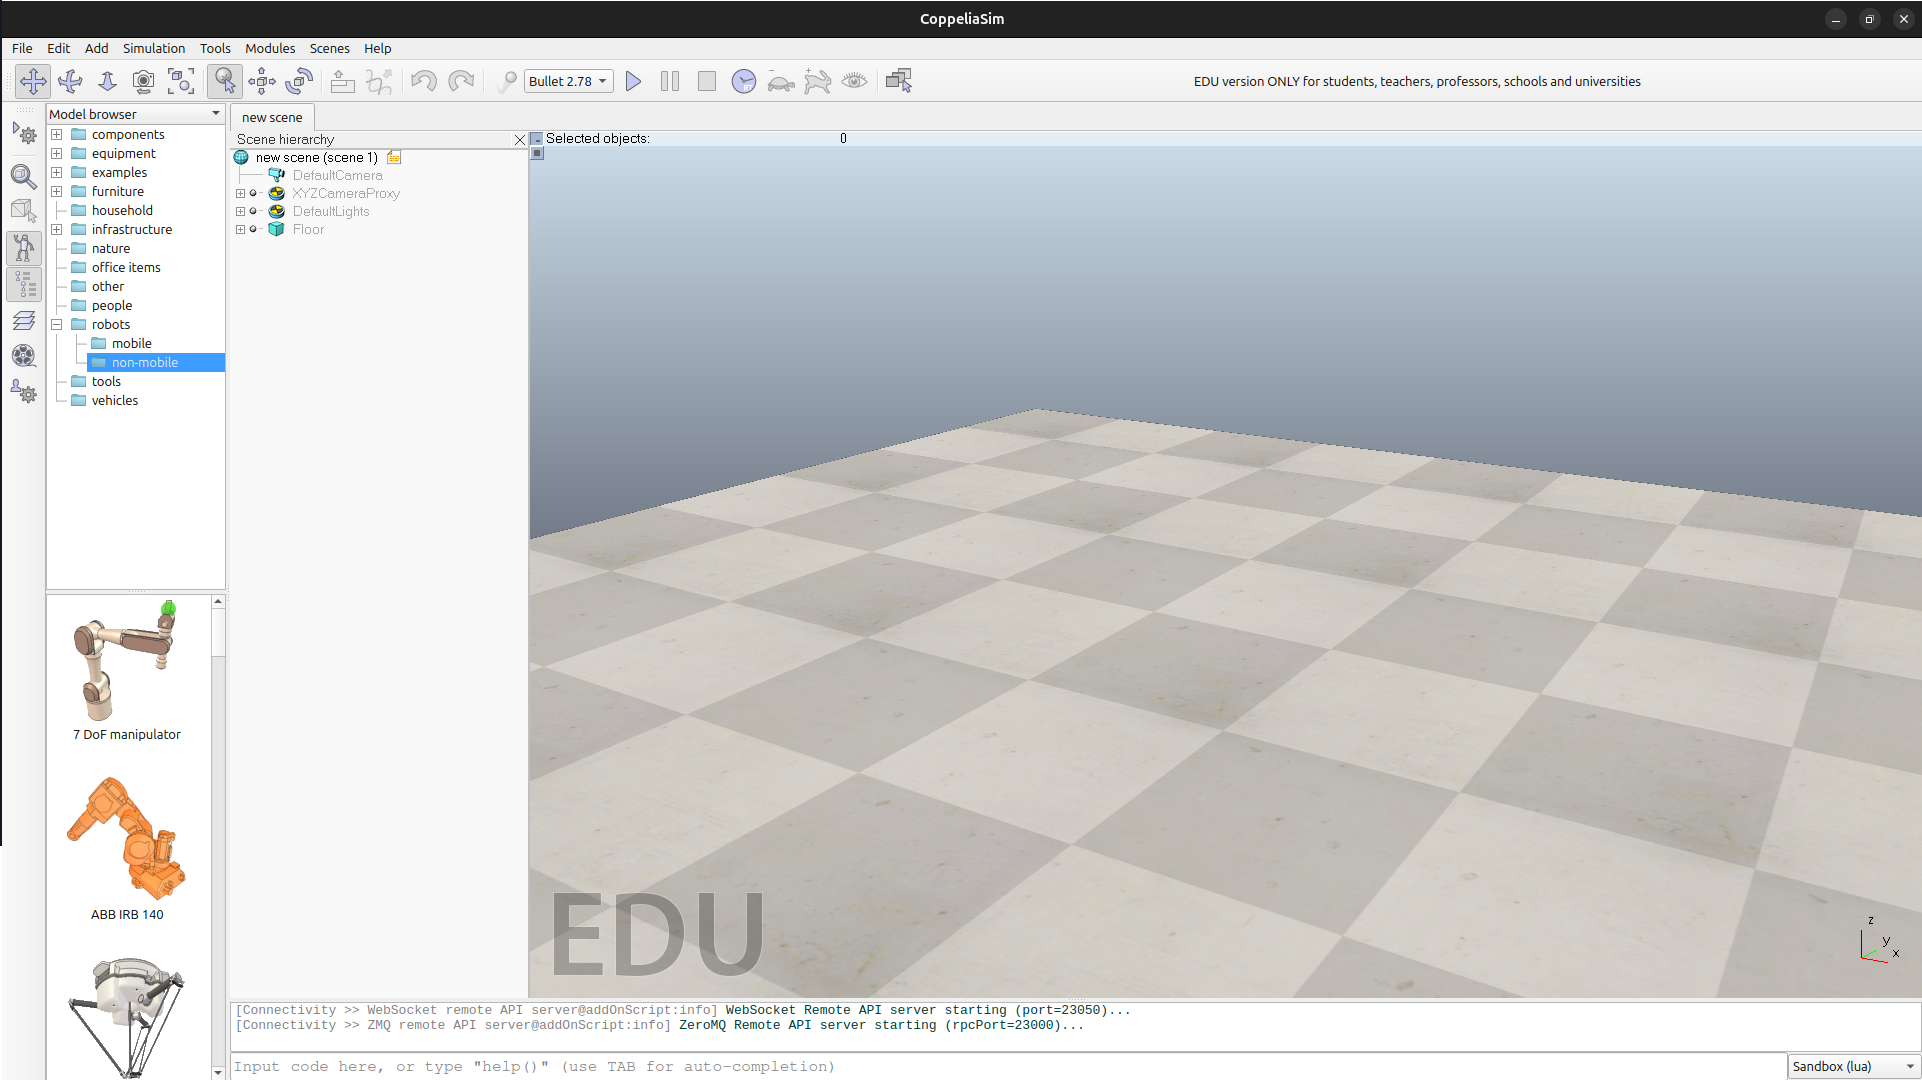
You will see the output as shown in Figure 6. CoppeliaSim will open with the default scene loaded.
B. Installation Steps CoppeliaSim for Ubuntu 24.04
Section titled “B. Installation Steps CoppeliaSim for Ubuntu 24.04”-
Download CoppeliaSim_Edu_V4_10_0_rev0 for Ubuntu 24.04 64-bit OS from here (file size - 245MB). It will download as .tar.xz (compressed zip) file.
-
Open Terminal and navigate to the directory where this file was downloaded. Run the following command:
Terminal window tar -xf CoppeliaSim_Edu_V4_10_0_rev0_Ubuntu24_04.tar.xzThis command will decompress and extract the CoppeliaSim software to the folder named CoppeliaSim_Edu_V4_10_0_rev0_Ubuntu24_04 in the same directory.
-
Now type the below commands in sequence to launch CoppeliaSim.
Terminal window cd CoppeliaSim_Edu_V4_10_0_rev0_Ubuntu24_04Terminal window ./coppeliaSim.sh -
You will see the output as shown in Figure 6. CoppeliaSim will open with the default scene loaded.